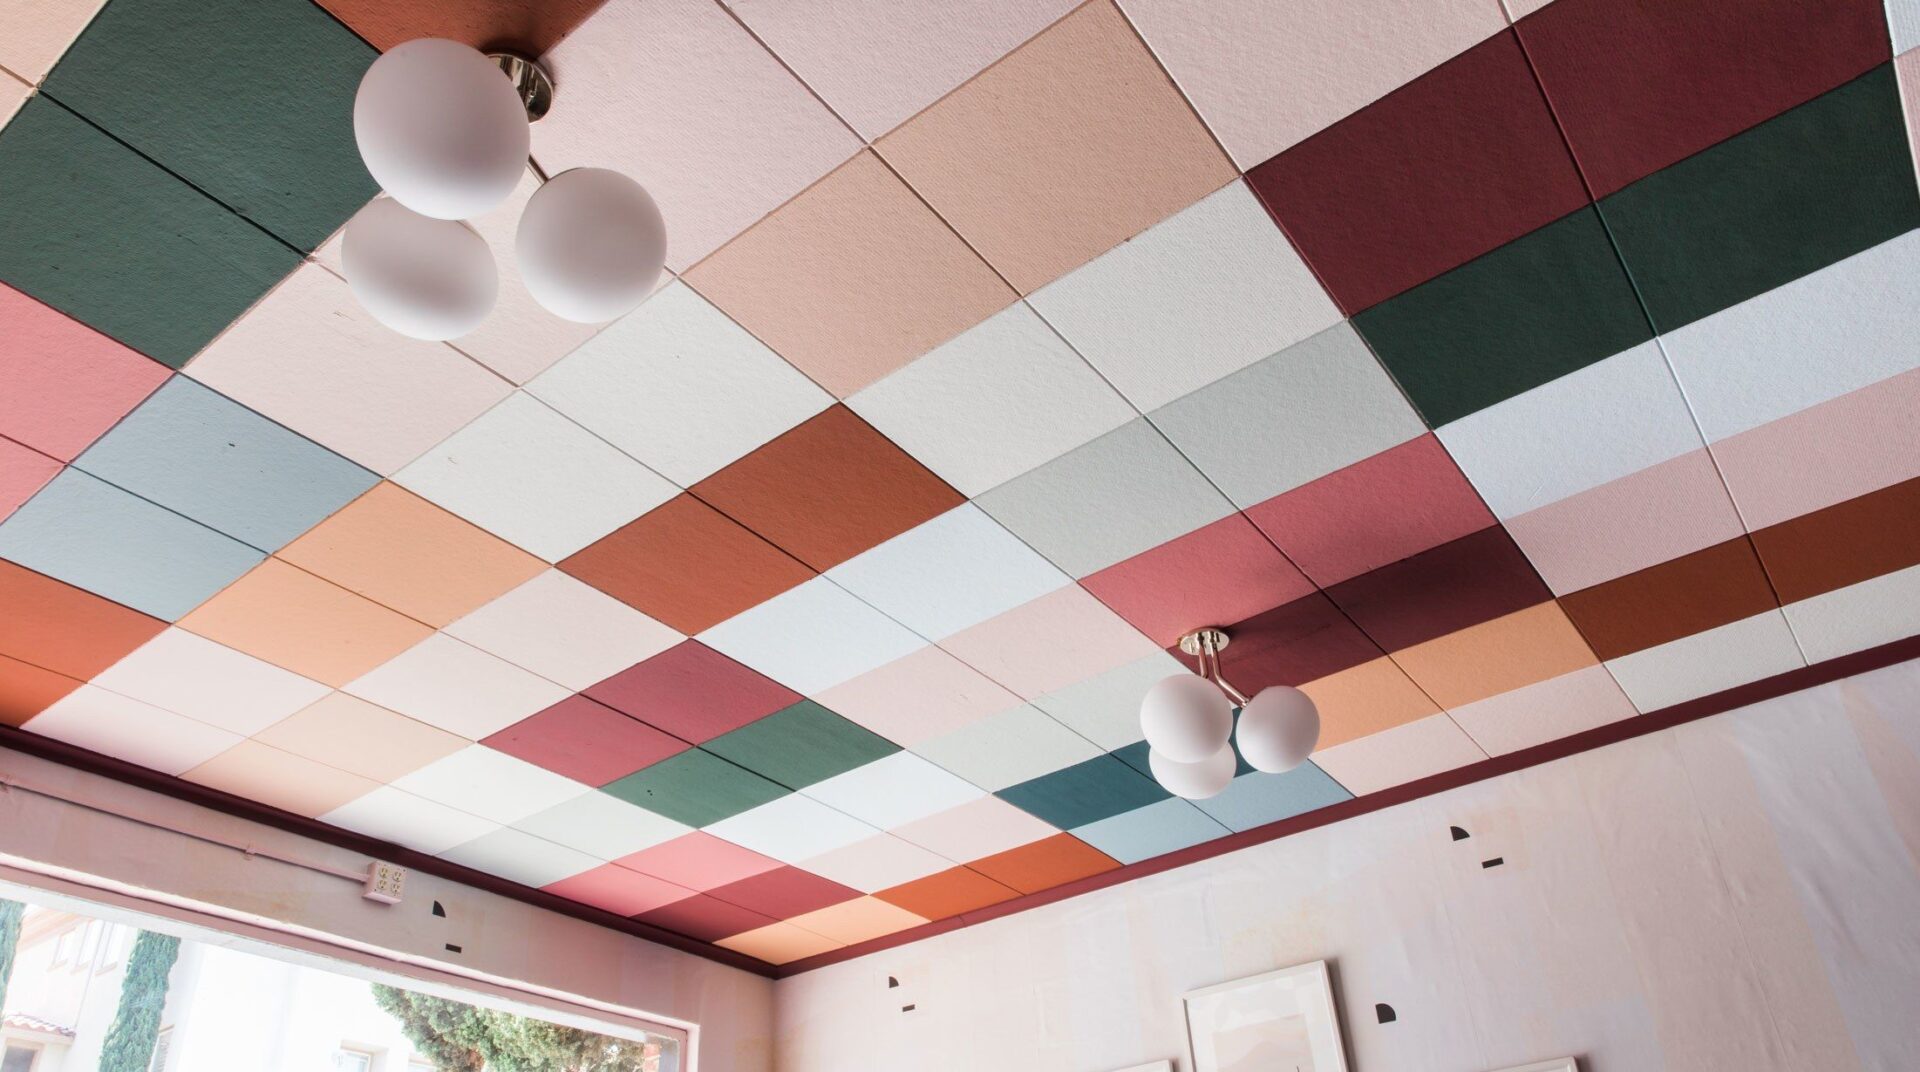
If you’re looking to revamp the look of your ceiling with a touch of rustic charm, styrofoam ceiling planks can be your ideal choice. These planks perfectly imitate the beauty of natural pinewood and can transform any residential or commercial space with ease.
Installing styrofoam ceiling planks to imitate natural pinewood is an excellent DIY Curved Ceiling Tiles Installation project that can instantly elevate the look of any space. With a few simple steps, you can bid farewell to popcorn ceilings and welcome a charming and affordable ceiling upgrade. Follow our step-by-step tutorial, and you’ll be amazed at the transformation your DIY ceiling decor will bring to your home or commercial setting.
Step 1: Gather Your Materials
Before you begin, gather all the necessary materials for the installation:
- Styrofoam Ceiling Planks: Measure your ceiling to determine the quantity needed.
- Adhesive: Choose a high-quality adhesive suitable for styrofoam.
- Measuring Tape: Ensure accurate measurements for a precise fit.
- Utility Knife: For cutting the planks to size if needed.
- Caulk Gun: To apply adhesive efficiently.
- Ladder or Scaffolding: Ensure safe access to your ceiling.

Step 2: Prep Your Ceiling
Prepare your ceiling by cleaning it thoroughly and ensuring it’s free from any dirt, dust, or debris. If you have popcorn ceilings, scrape them off or apply a suitable primer to create a smooth surface for the planks.
Step 3: Measure and Cut
Measure the length of your ceiling to determine the required plank size. If needed, use a utility knife to cut the planks to the appropriate dimensions, ensuring a perfect fit.
Step 4: Apply Adhesive
Load the adhesive into the caulk gun and apply it to the back of the styrofoam ceiling plank. Be generous with the adhesive to ensure a secure bond. For best results, work in small sections at a time.
Step 5: Install the Planks
Carefully press the adhesive-coated side of the plank onto the ceiling surface. Align the plank with the previous one, creating a seamless look. Use a level to ensure the planks are straight and evenly spaced.
Step 6: Repeat the Process
Continue applying adhesive and installing the planks one by one until the entire ceiling is covered. Take your time to maintain consistency in the pattern and alignment.
Step 7: Finishing Touches
Once all the planks are in place, inspect the ceiling for any gaps or uneven spots. Use caulk or additional adhesive to fill in any imperfections for a polished finish.
Get ready to bask in the beauty of your new, stylish ceiling planks!

